Create Android Application
- Download Fase Android Client. Download
fase_androidrepository from here; -
Launch Android Studio;
-
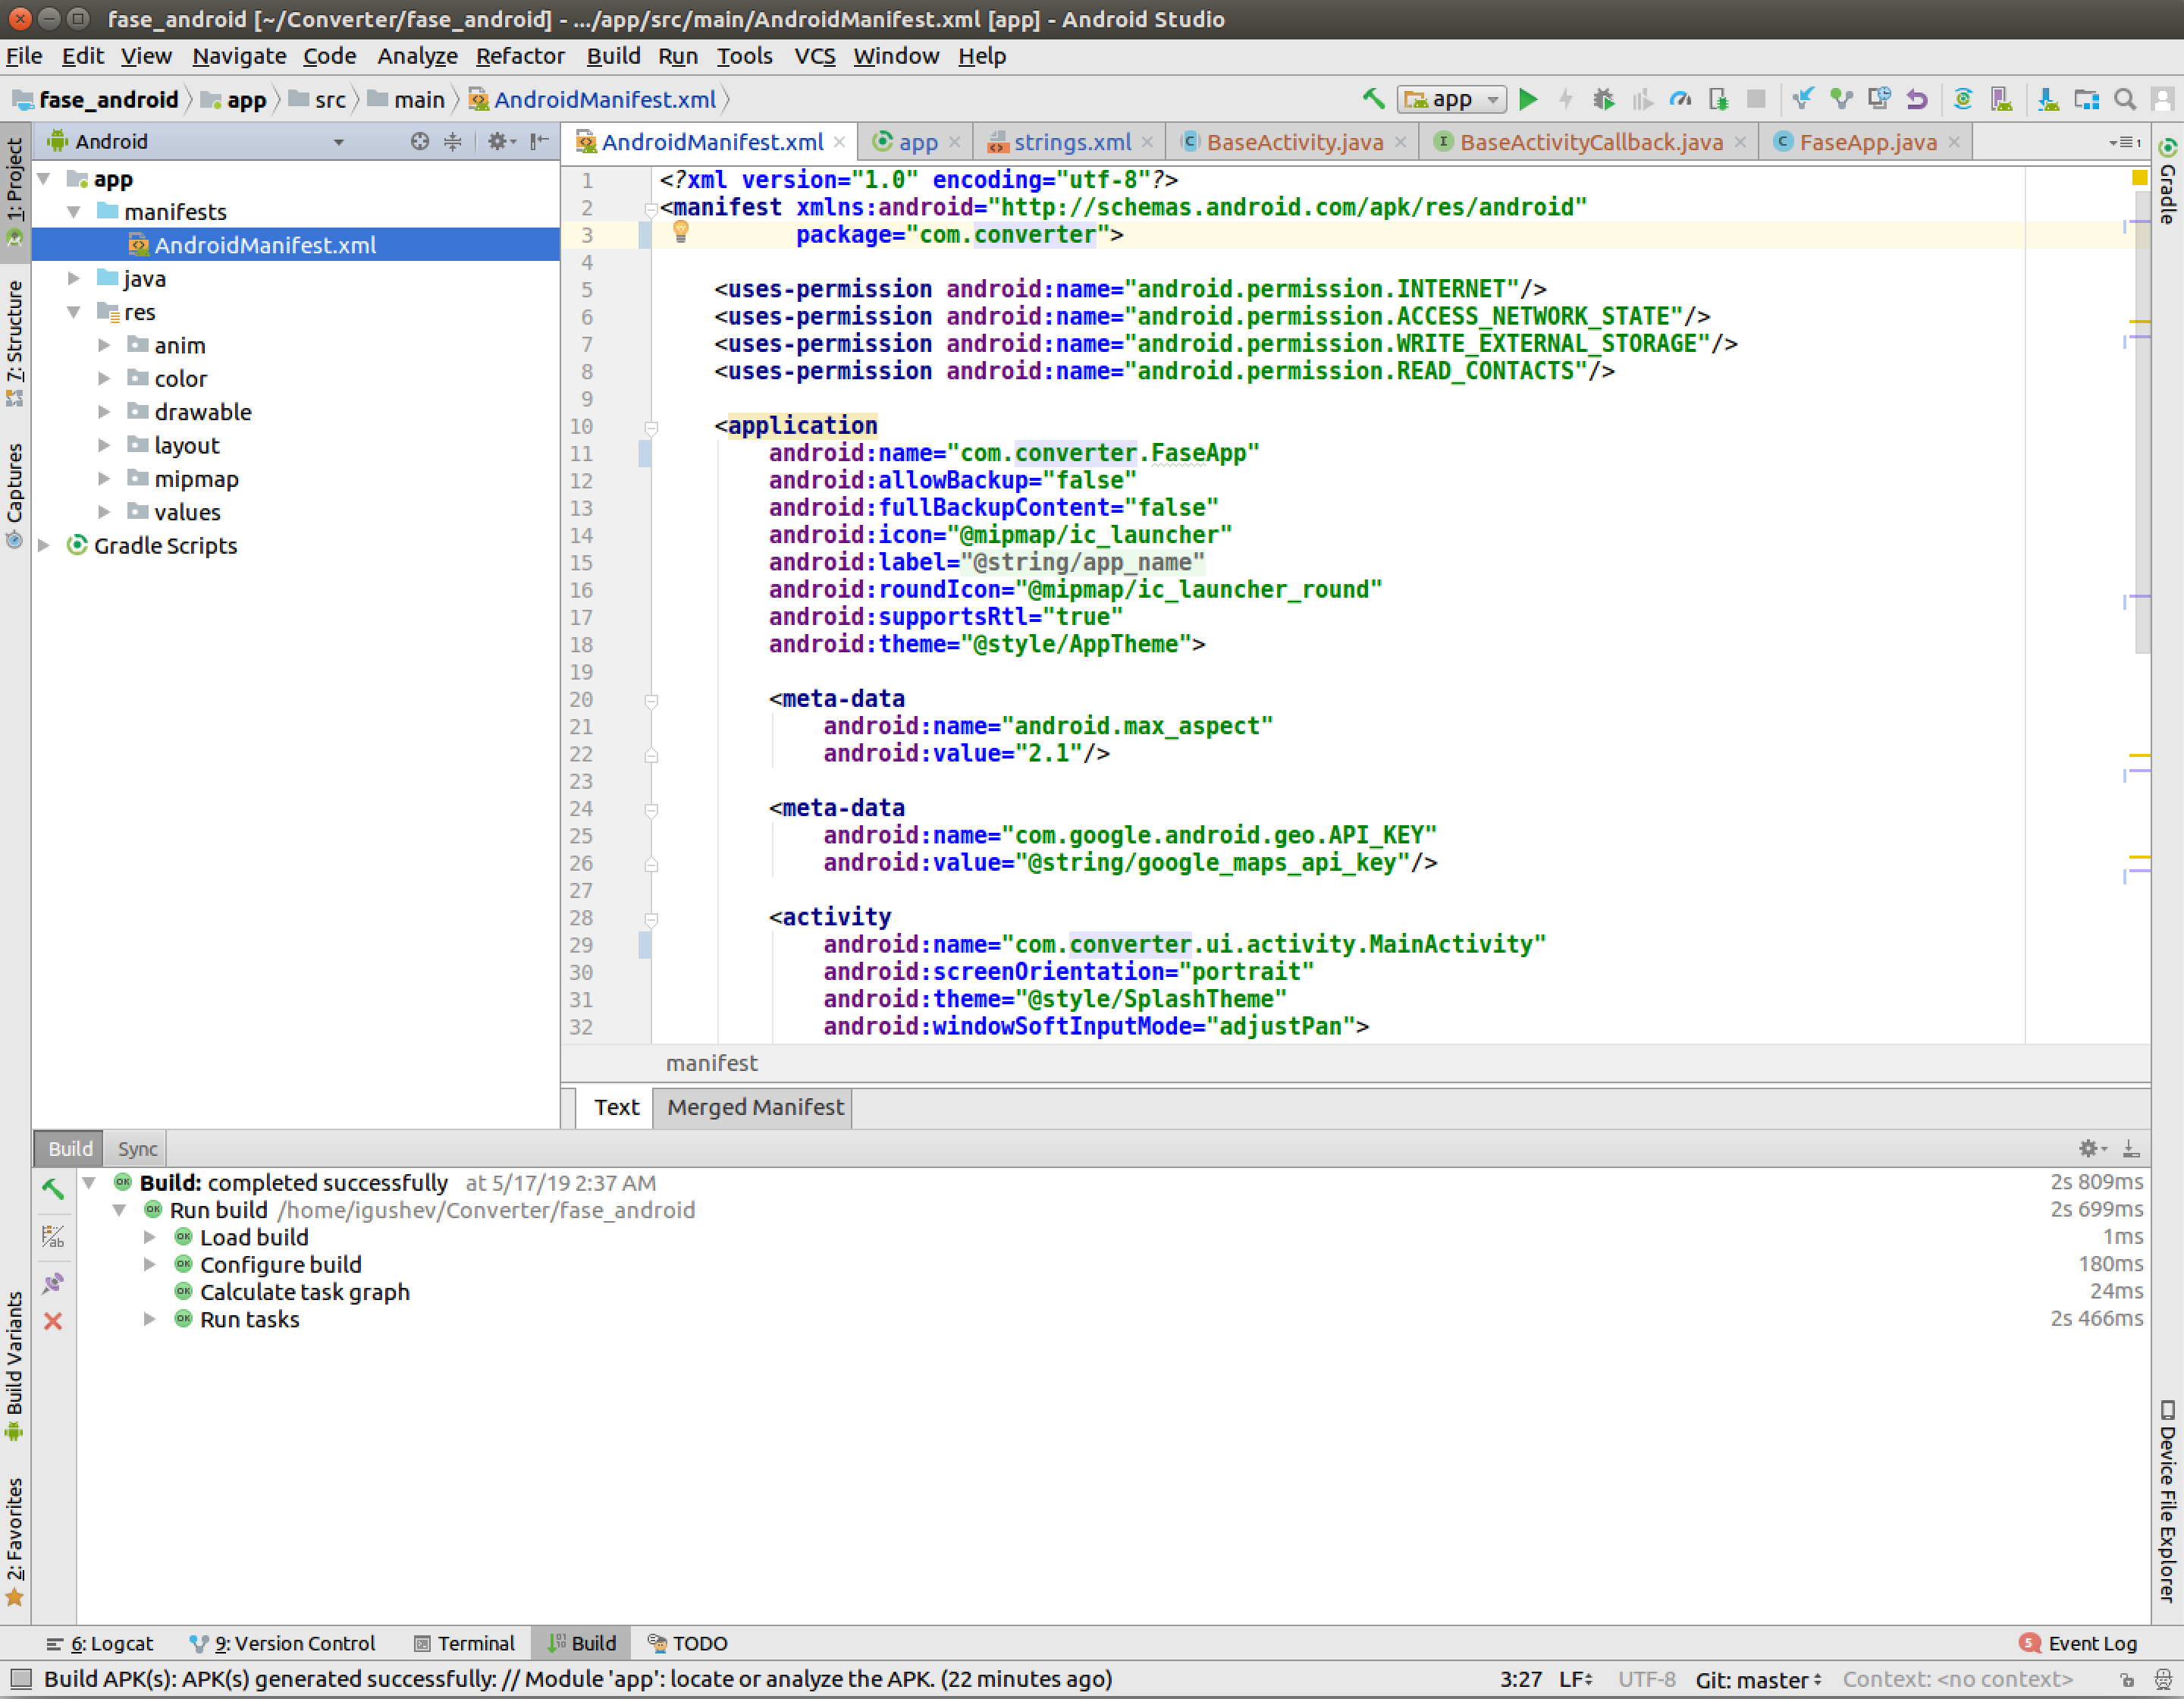
Update package name. Go to fase_android/app/src/main/AndroidManifest.xml, Select manifest->package and go to Refactor->rename and rename from com.fase to com.converter;
-
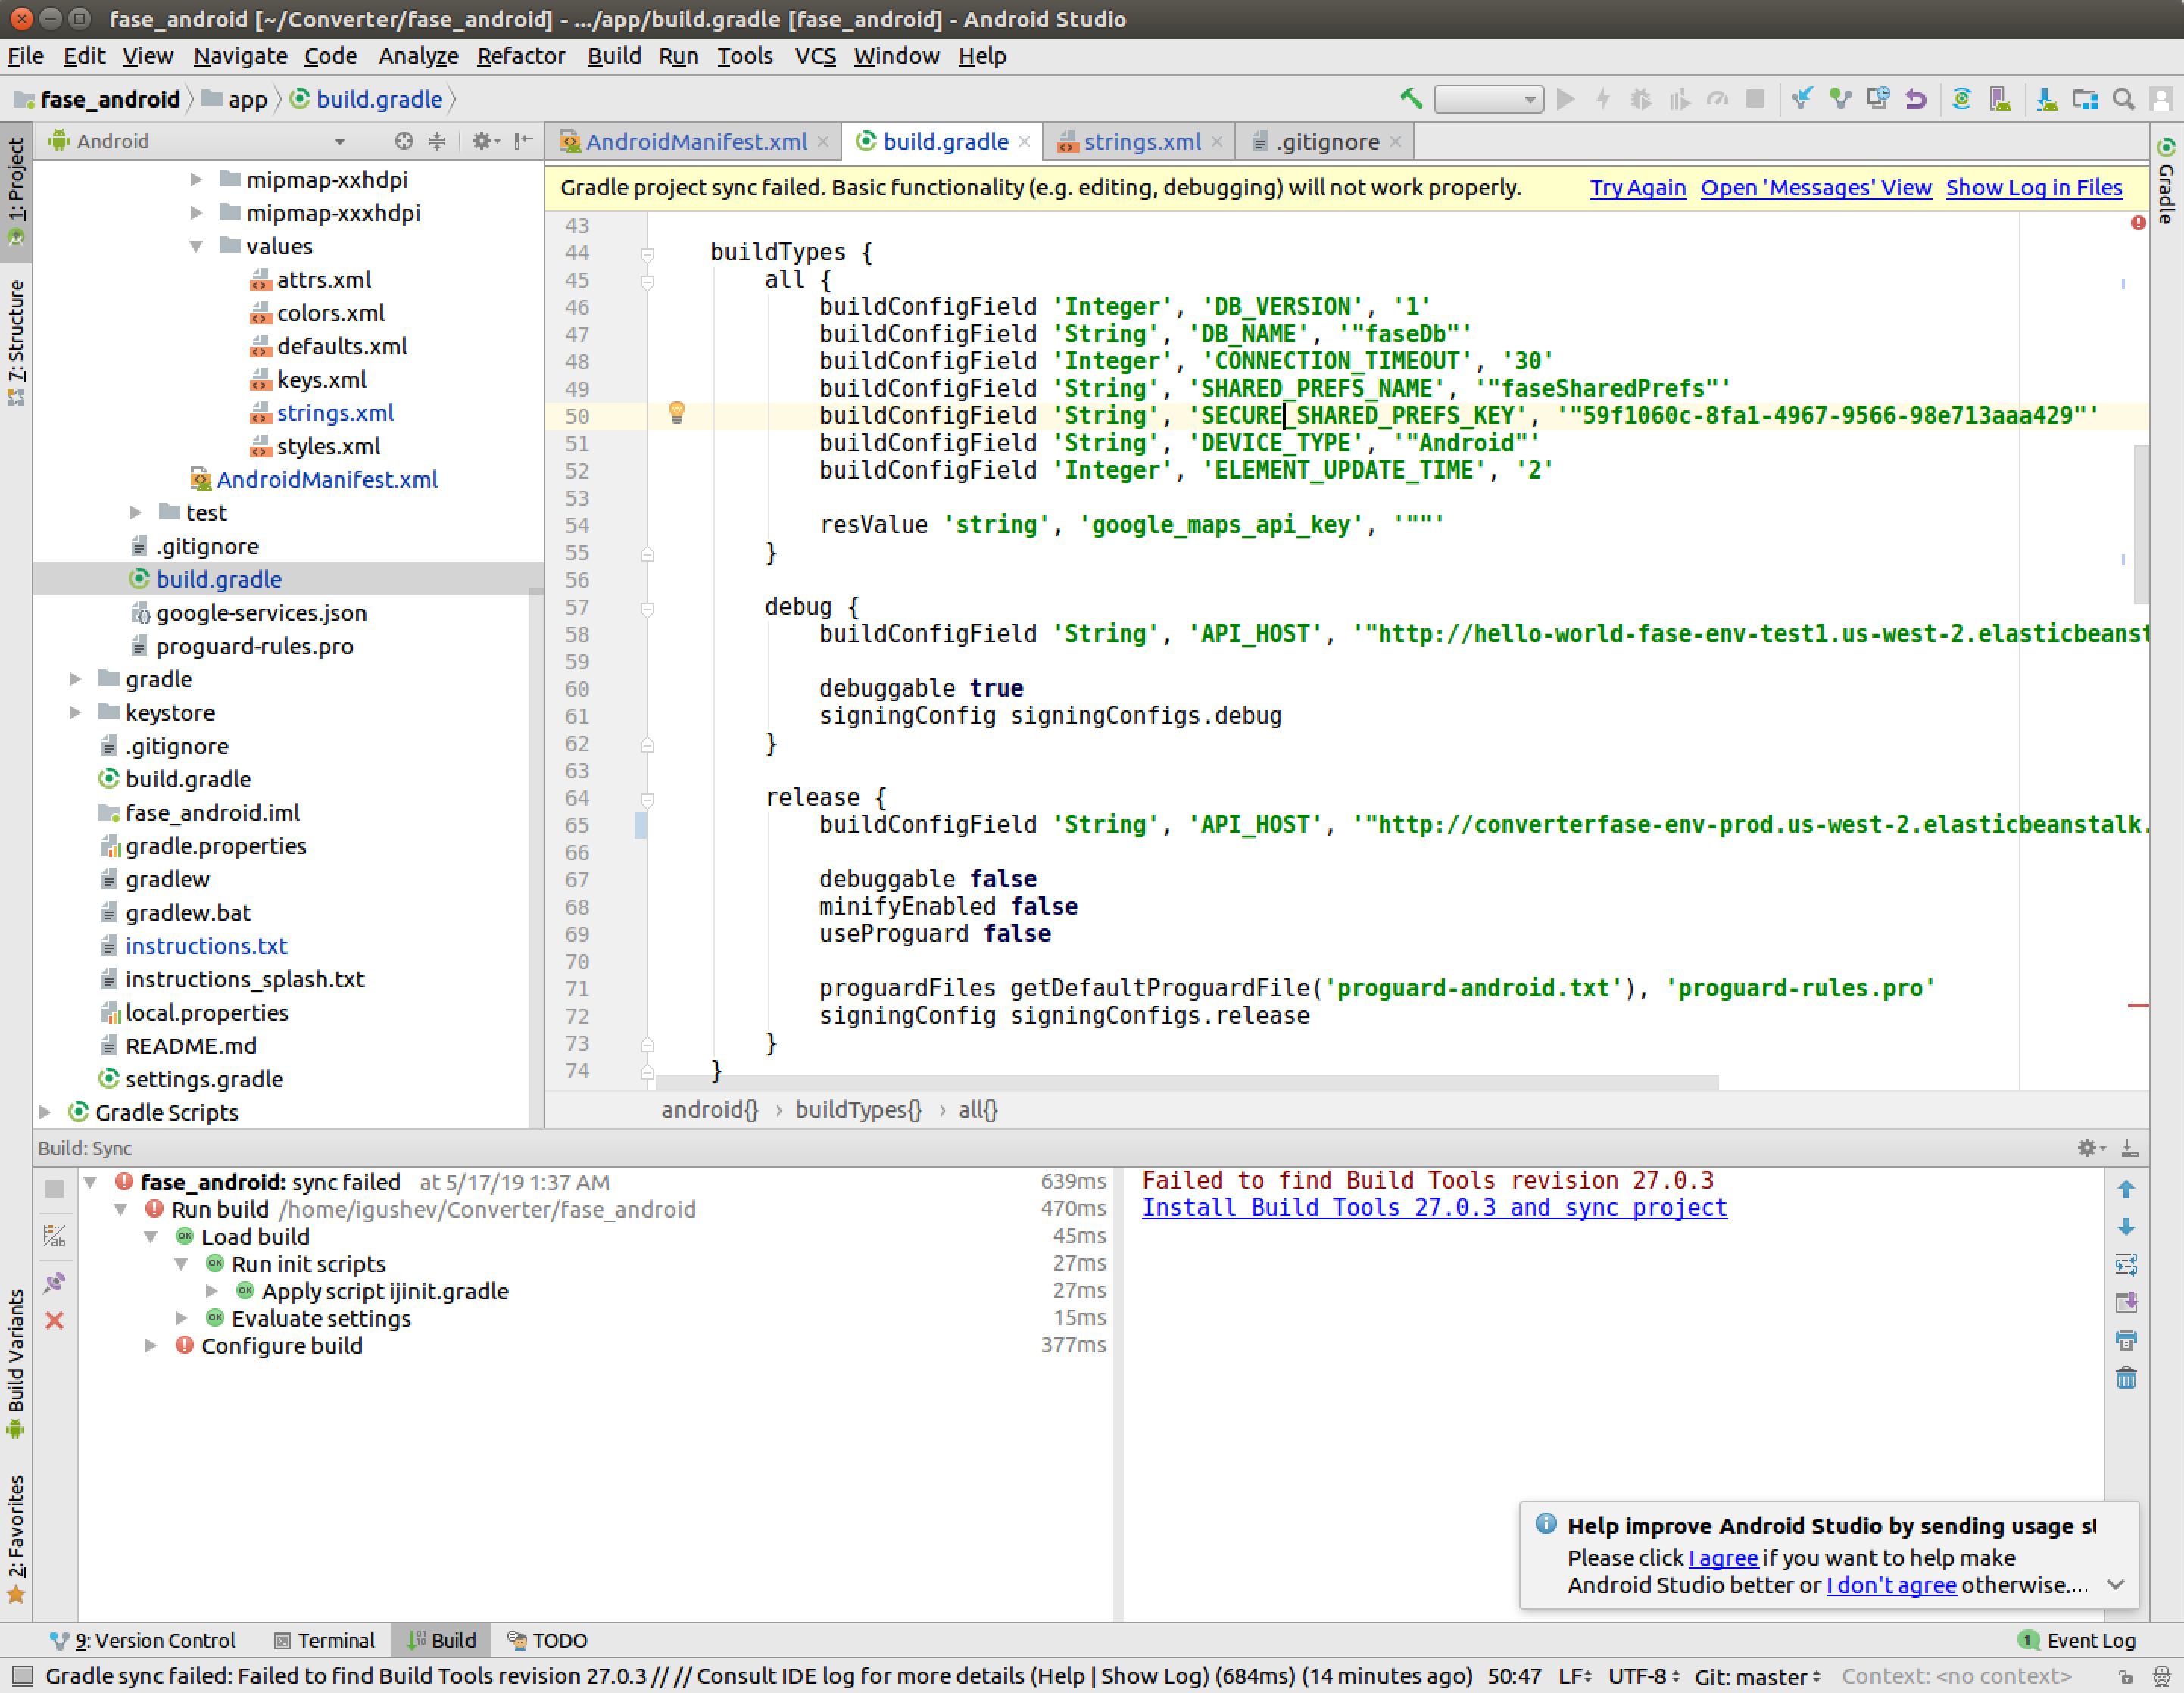
Update package name for building. Go to fase_android/app/build.gradle, rename android->defaultConfig->applicationId from com.fase to com.converter;
- Update Server URL. Go to fase_android/app/build.gradle, update server URL in
android->buildTypes->debug->API_HOST and android->buildTypes->release->API_HOST to
http://converterfase-env-prod.us-west-2.elasticbeanstalk.com/ -
Update Google API key if needed. If your Application uses signing up with home city selection and/or Place picker, update Google API key. Go to fase_android/app/build.gradle, update google_maps_api_key;
-
Update package name reference. Go to fase_android/app/google-services.json, rename both package_name from com.fase to com.converter;
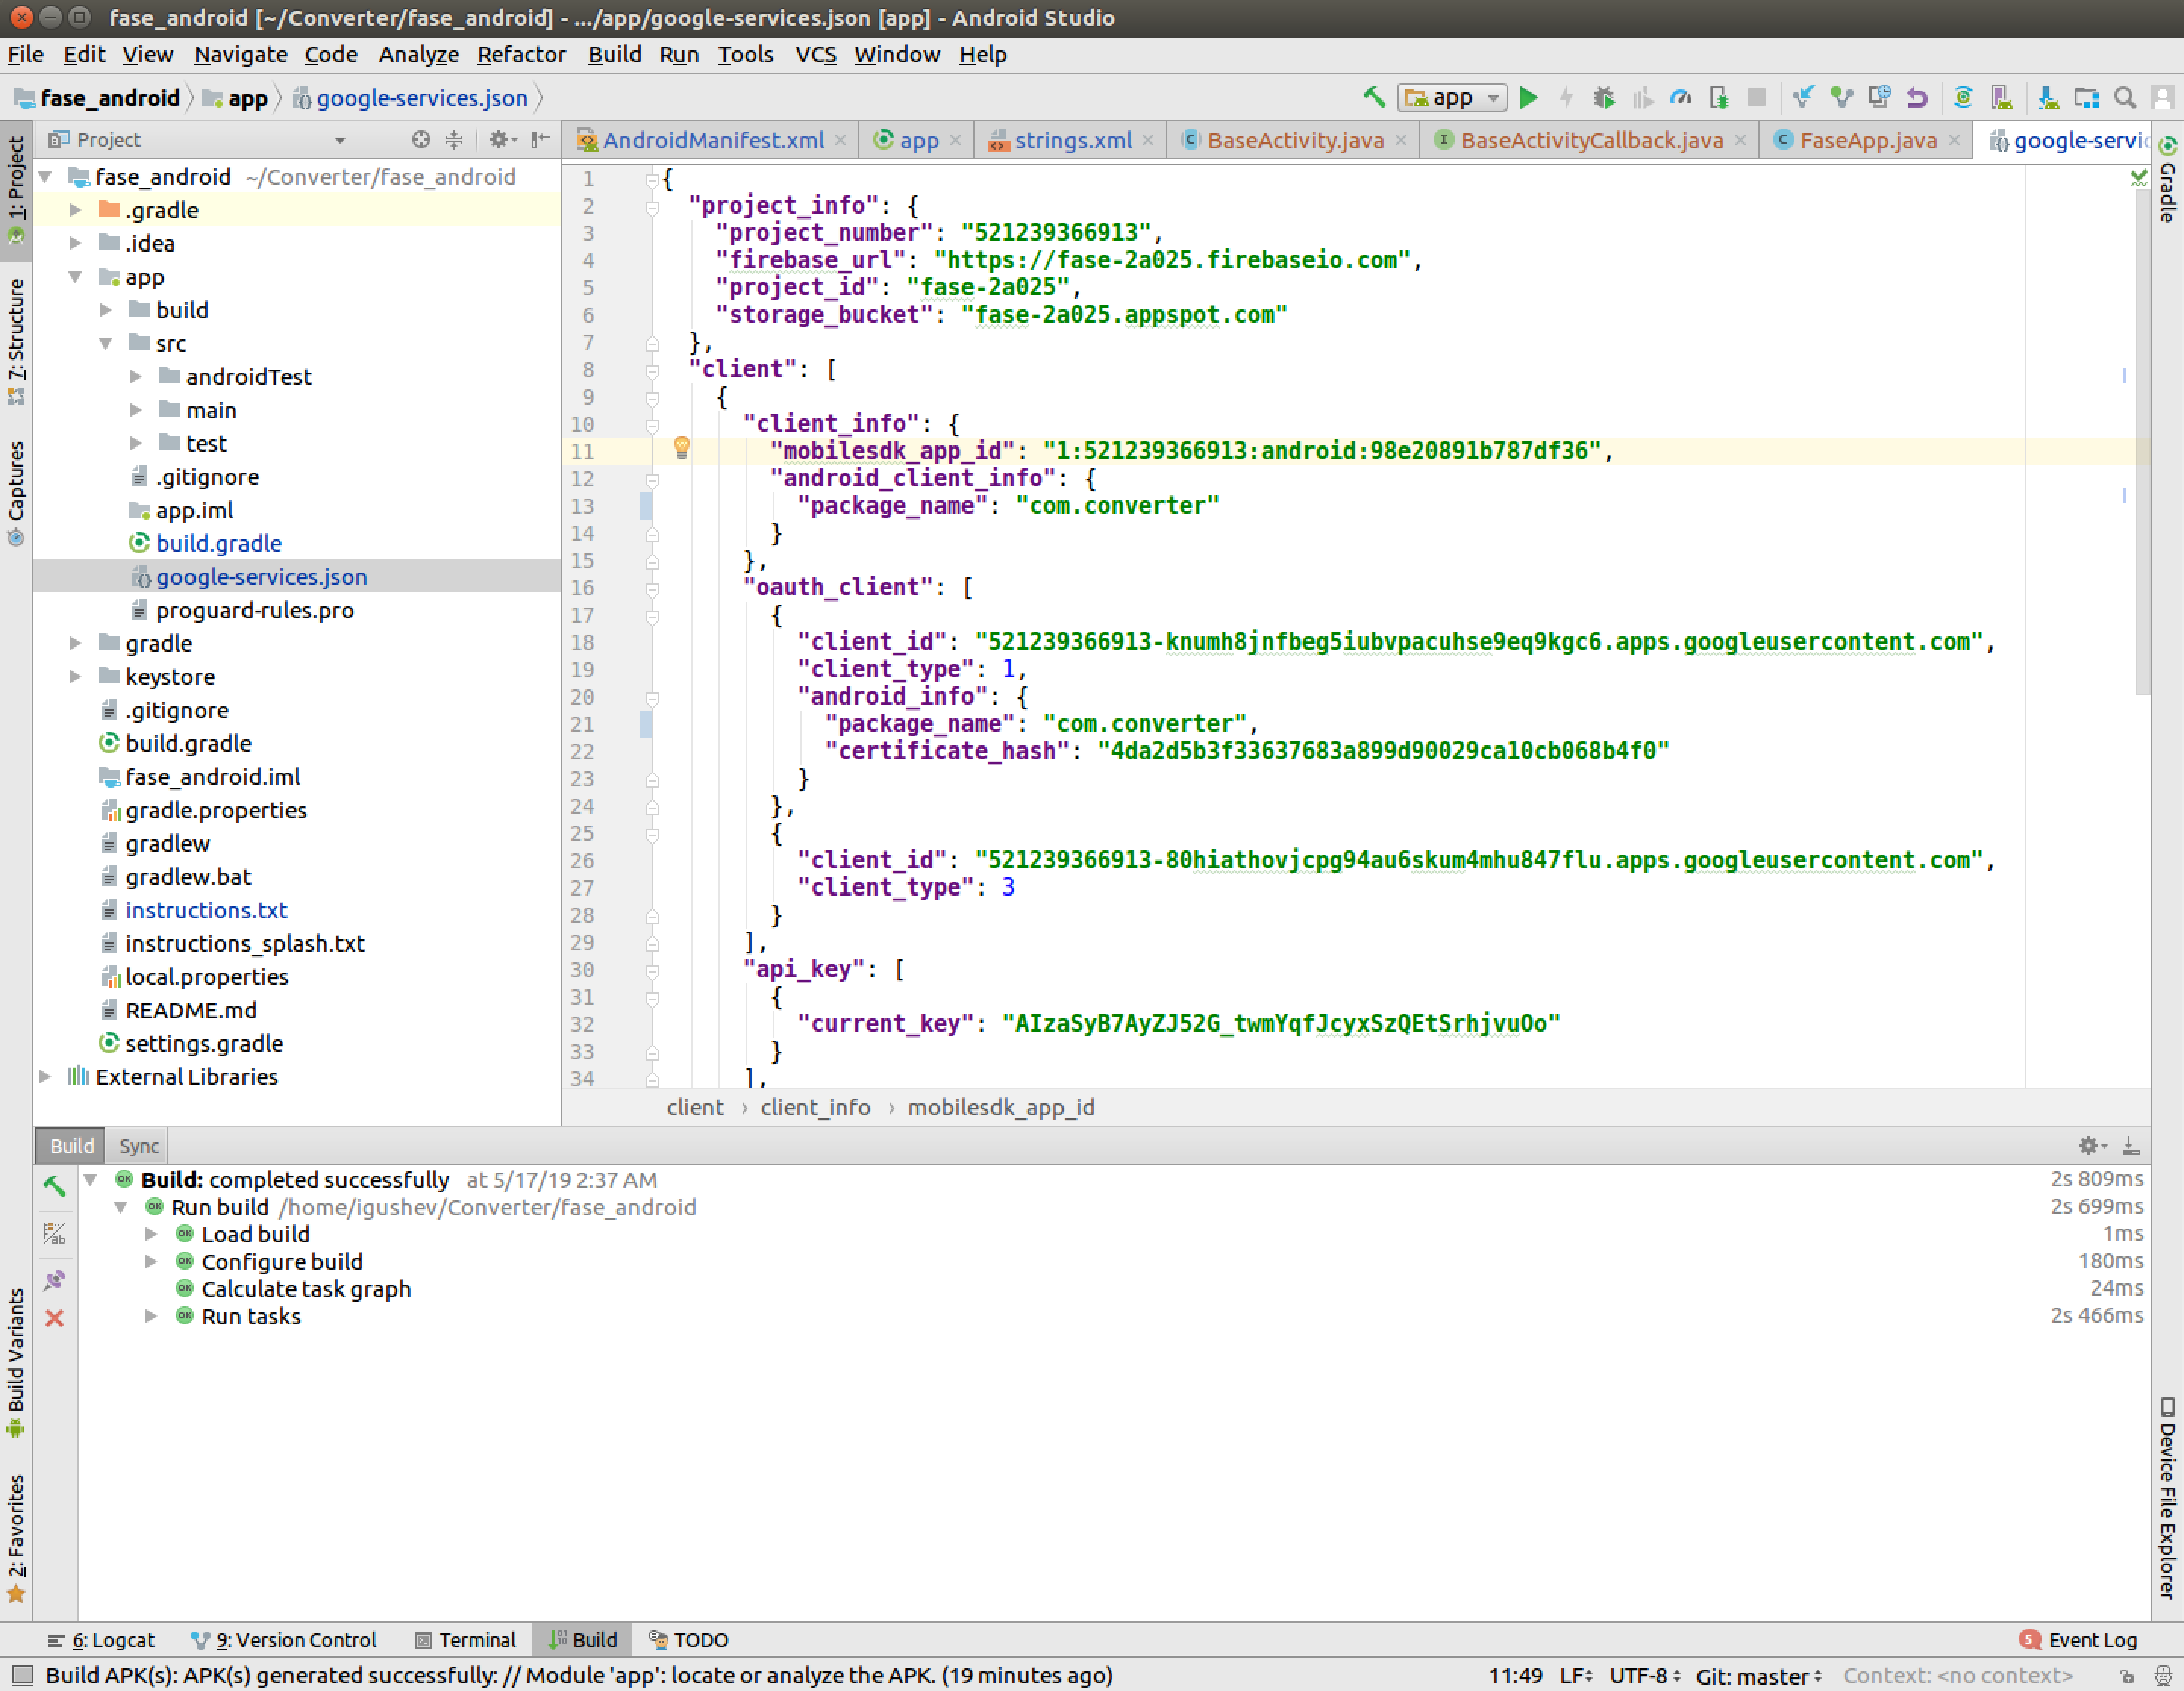
NOTE. Properly when project is created in Firebase fase_android/app/google-services.json must be downloaded from Firebase Console.
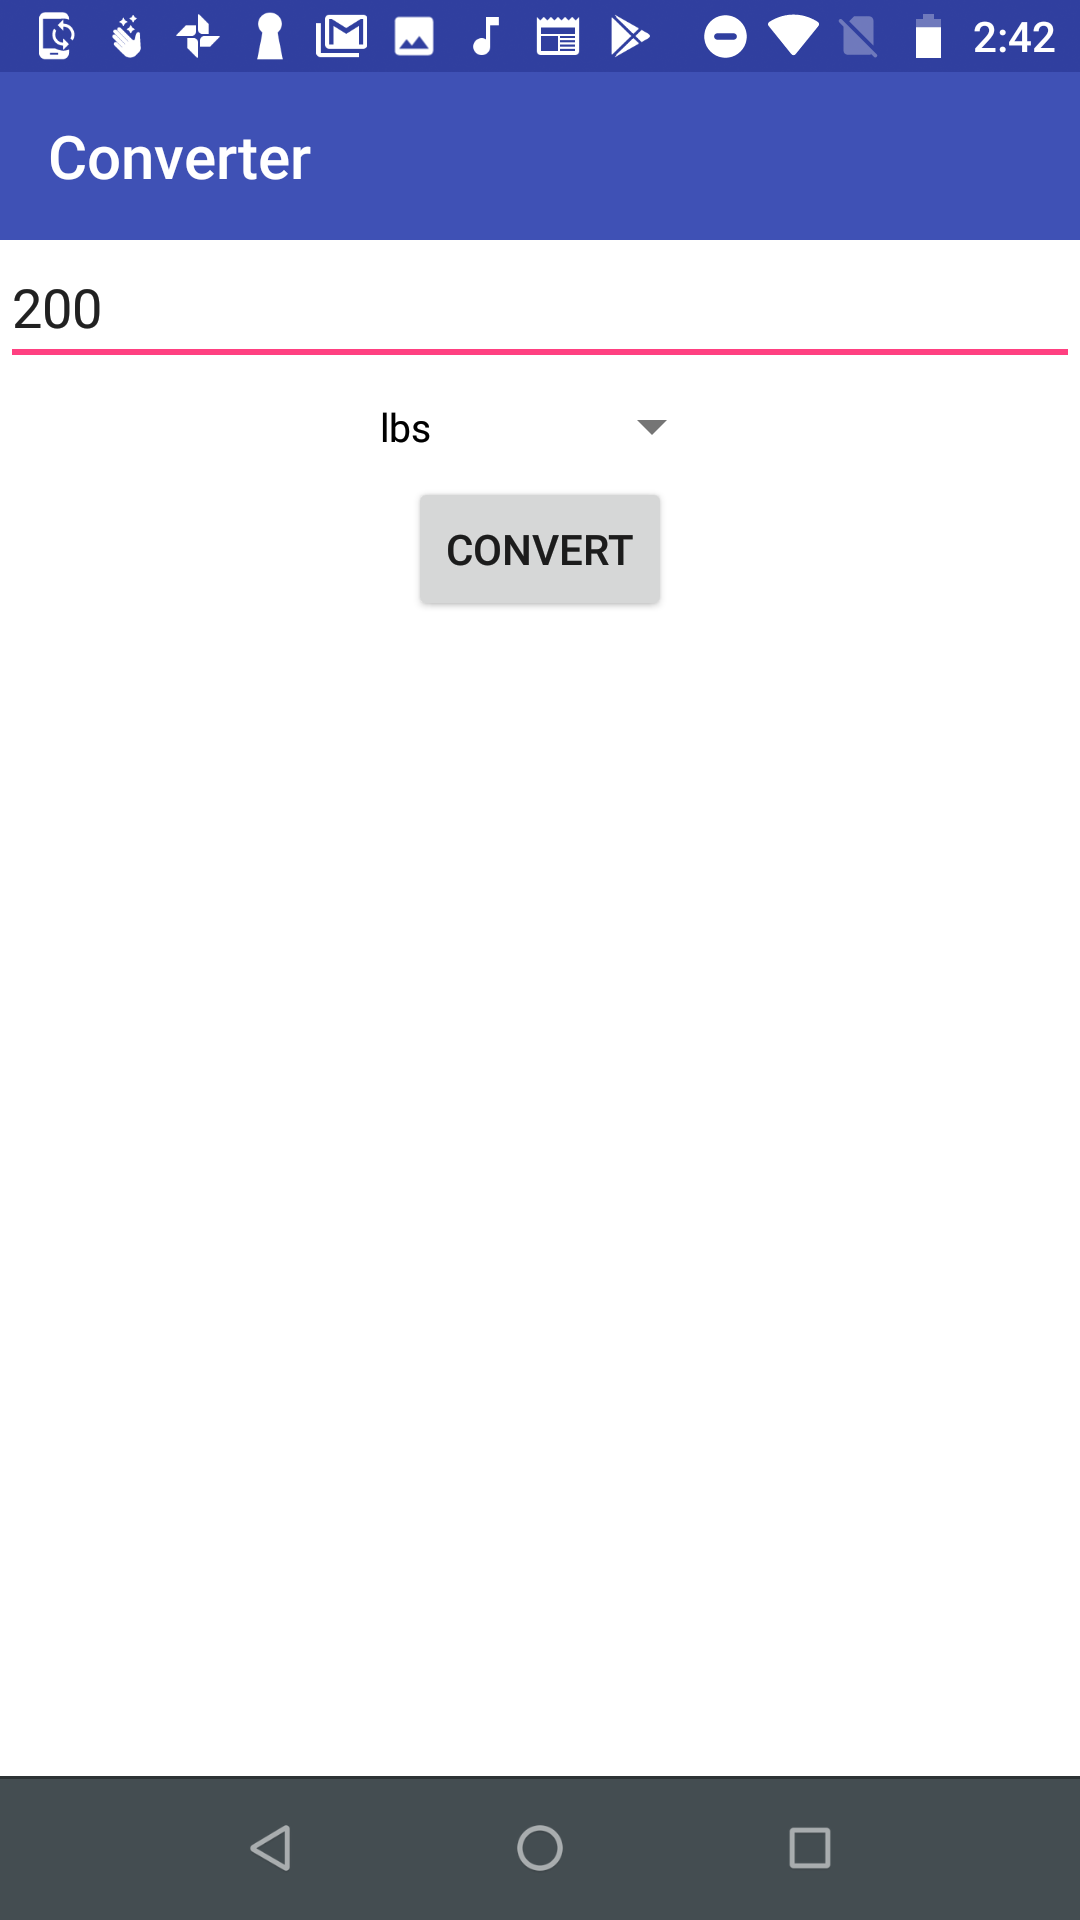
- Update Application name. Go to fase_android/app/src/main/res/values/strings.xml, rename app_name from Fase to Converter;
- Add icons. Go to res->new->Image Asset and add icons;
- Build. Click Build->Build APK(s)
You can download APK file to an Android Phone, install the application and run: