Create iOS Application
- Download Fase iOS Client. Download
fase_iosrepository from here; - Launch XCode;
- Update Display Name. Click on Fase_iOS, change Display Name to Converter (see picture below);
- Update Bundle Identifier. Click on Fase_iOS, change Bundle Identifier to converter-fase (see picture below);
- Update Team. Click on Fase_iOS, as Team choose your account (see picture below);

- Update Server URL. Go to Fase_iOS/API Client/APIClient.swift, Update
BaseURL.prodto URL of deployed Serverhttp://converterfase-env-prod.us-west-2.elasticbeanstalk.com/; - Update Google API key if needed. If your Application uses signing up with home city selection and/or Place
picker, update Google API key. Go to Fase_iOS/AppDelegate.swift, update
googleAPIKeyvariable; - Turn on Push Notifications if needed. If your Application uses push notifications, register for remote
notifications. Go to Fase_iOS/AppDelegate.swift, uncomment line
NotificationService.instance.registerForRemoteNotifications(); - Add icons. Click on Fase_iOS. In App Icons Source add icons;
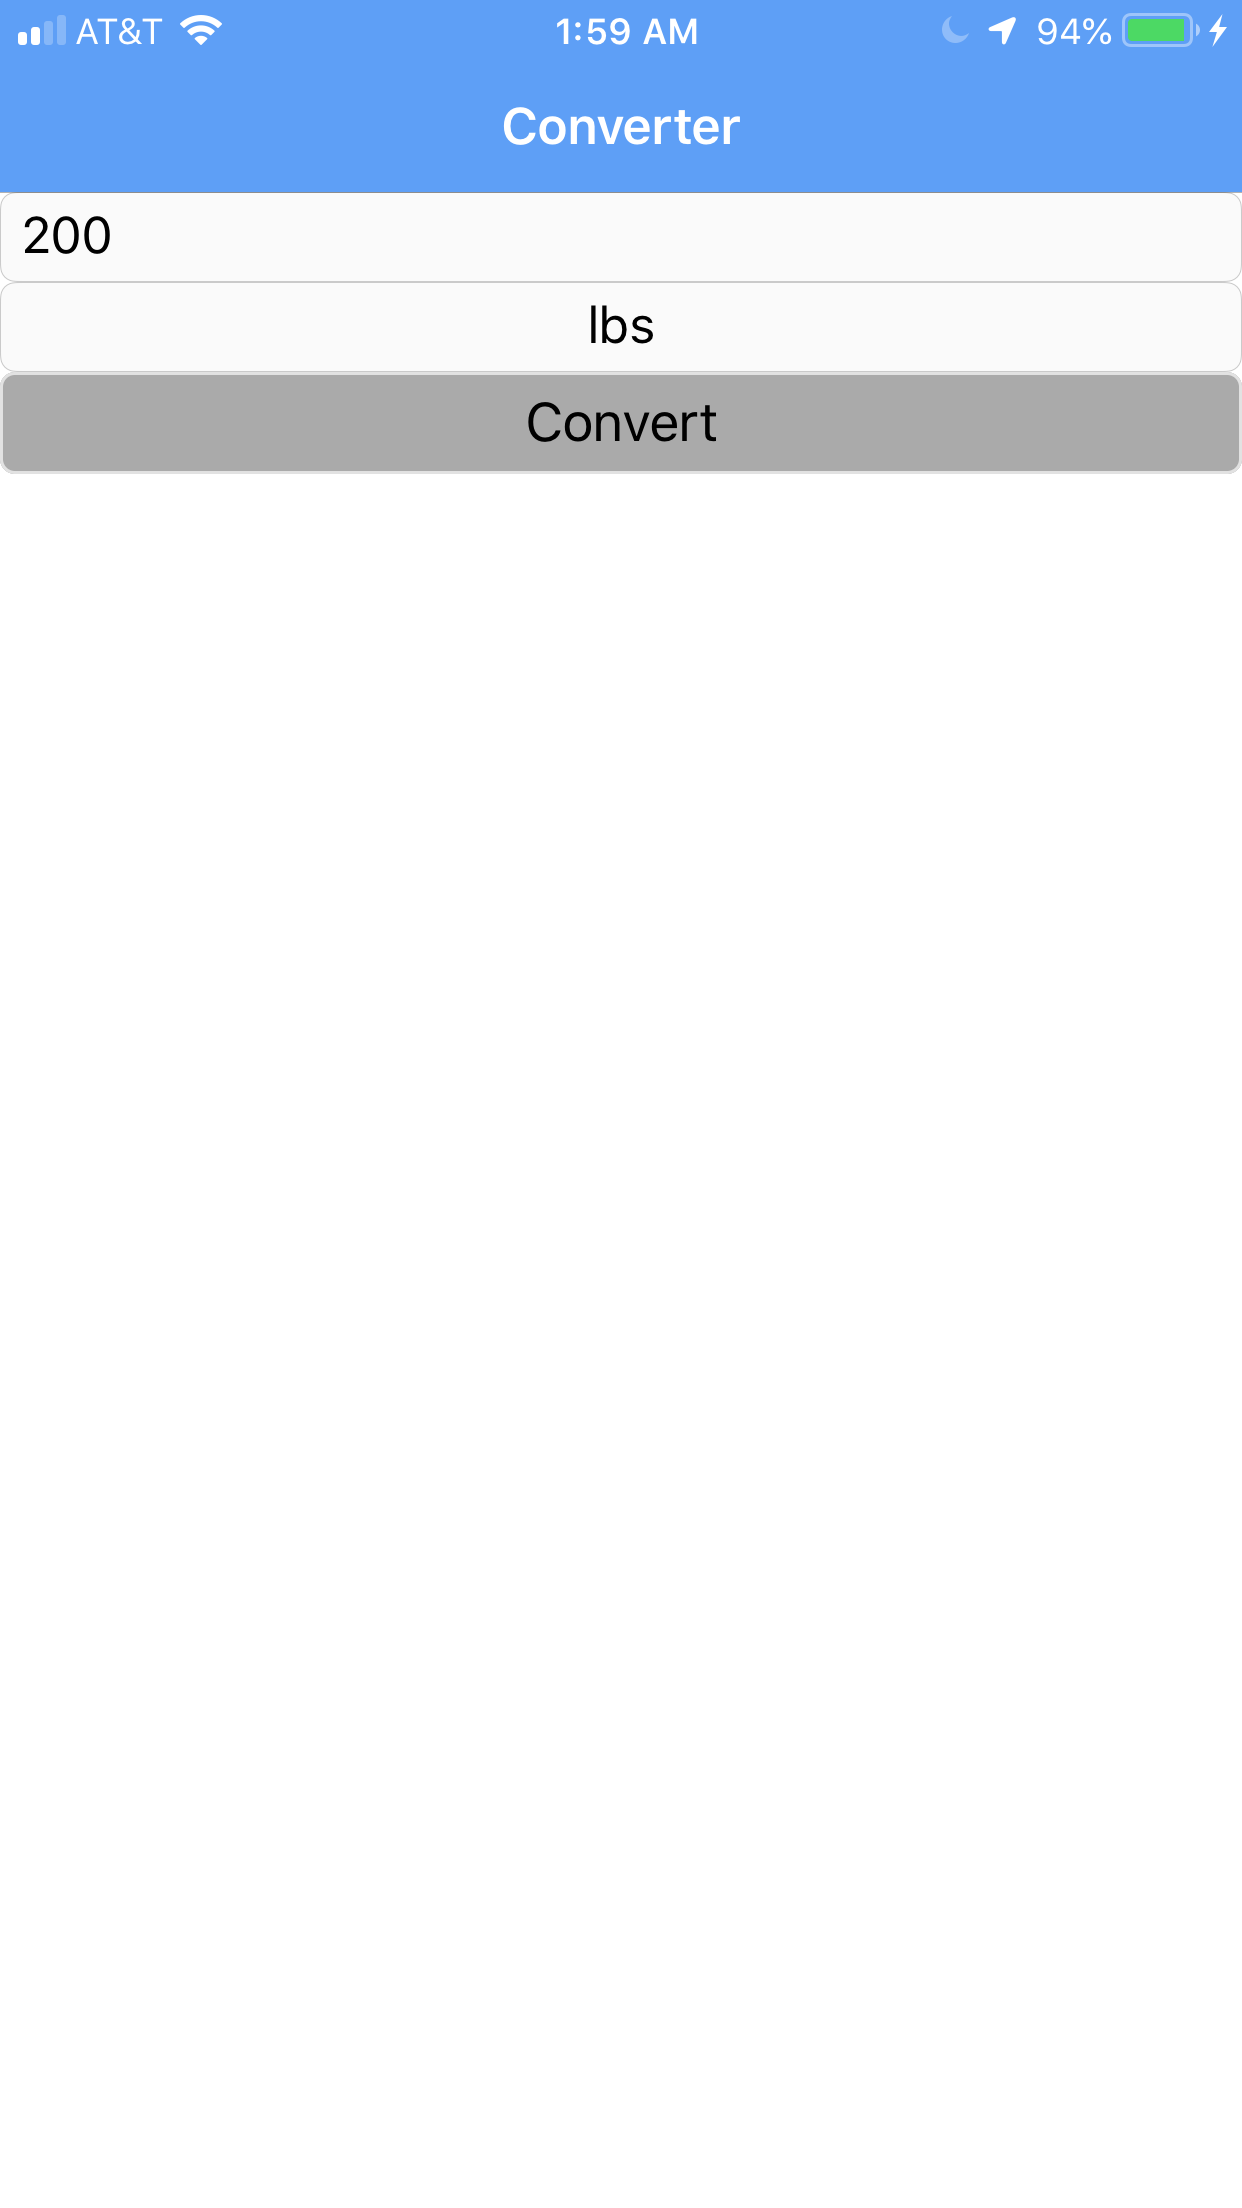
- Build and Run. Set Fase_iOS as active scheme, click Build and Run;
If you have a connected iPhone, Application should run: